System is where you set and record OQUPIE account’s info and service preferences.
You can manage it at the top right of OQUPIE in Settings>System. You can manage following items in System.
Registration Information
You can change the company or team information used in managing OQUPIE accounts and communicating with customers. Go to Settings>System>Sign Up Information.
Setting Contents

Customize Design
The feature allows you to decorate the OQUPIE space used which is shared by all members. Change your logo and name using Customize design. Go to Settings>System>Customize Design.
Setting Contents

Set Service Preferences
In service preferences you can set basic preferences to start customer support. Basic preferences are foundation of various actions taken in using OQUPIE. Go to Settings>System>Service Preferences.
Setting Contents

Following language can be used as service language for your OQUPIE account.
Account
Where important information related to the OQUPIE account is managed. Go to Settings>System >Account.

The Account Owner is a role automatically granted to the member who created the Oqupie account. Account Owner has access to all the features in Oqupie, and the authority to edit and delete accounts. So, you must be careful when changing the Account Owner.

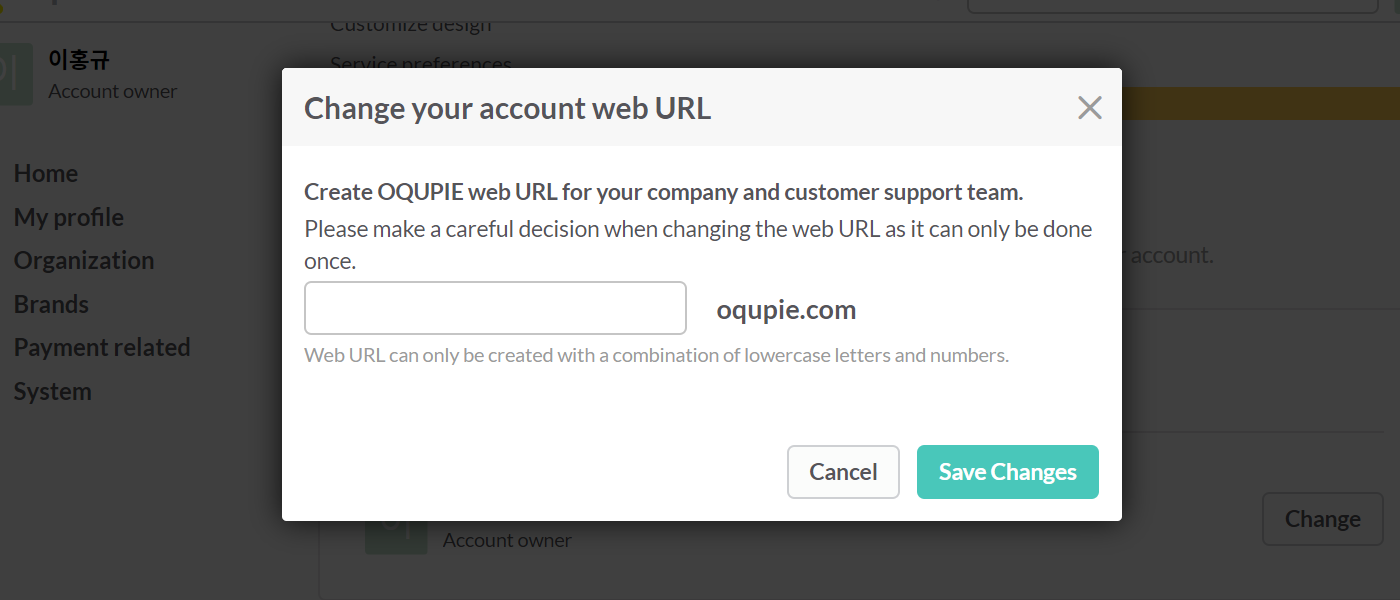
You can change the account web address (URL) only once, so be careful. The web URL can only be created with a combination of lowercase letters and numbers.
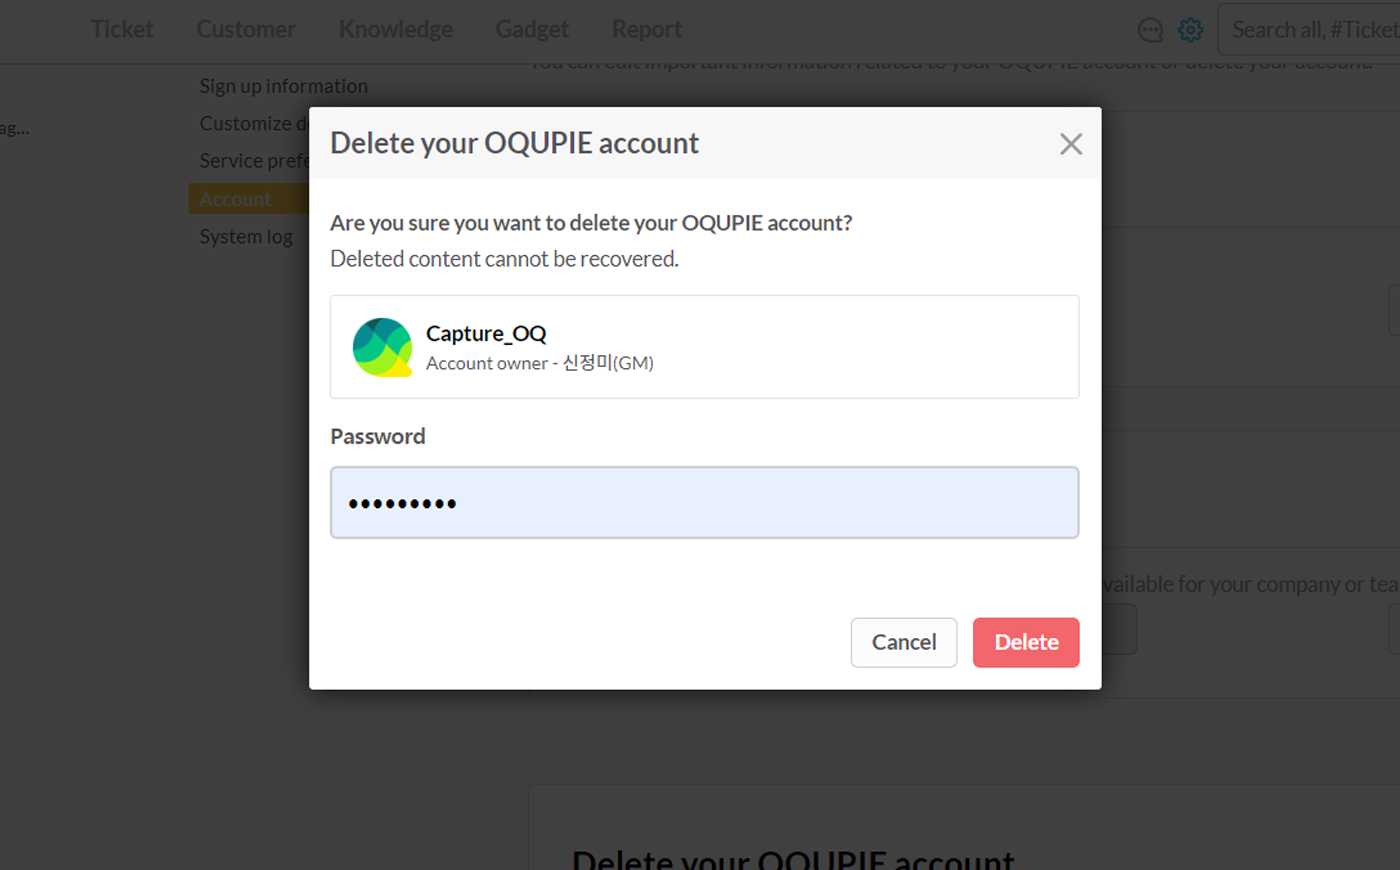
You can delete your OQUPIE account by clicking Delete your OQUPIE account at the bottom of OQUPIE account page. If you delete an OQUPIE account, the account and all related information including connected channel information such as connected email, customer center, widget, etc. will be deleted also.
If you do not remember the account web address while logging in to OQUPIE, use find web address below the account web address field in the OQUPIE login page.
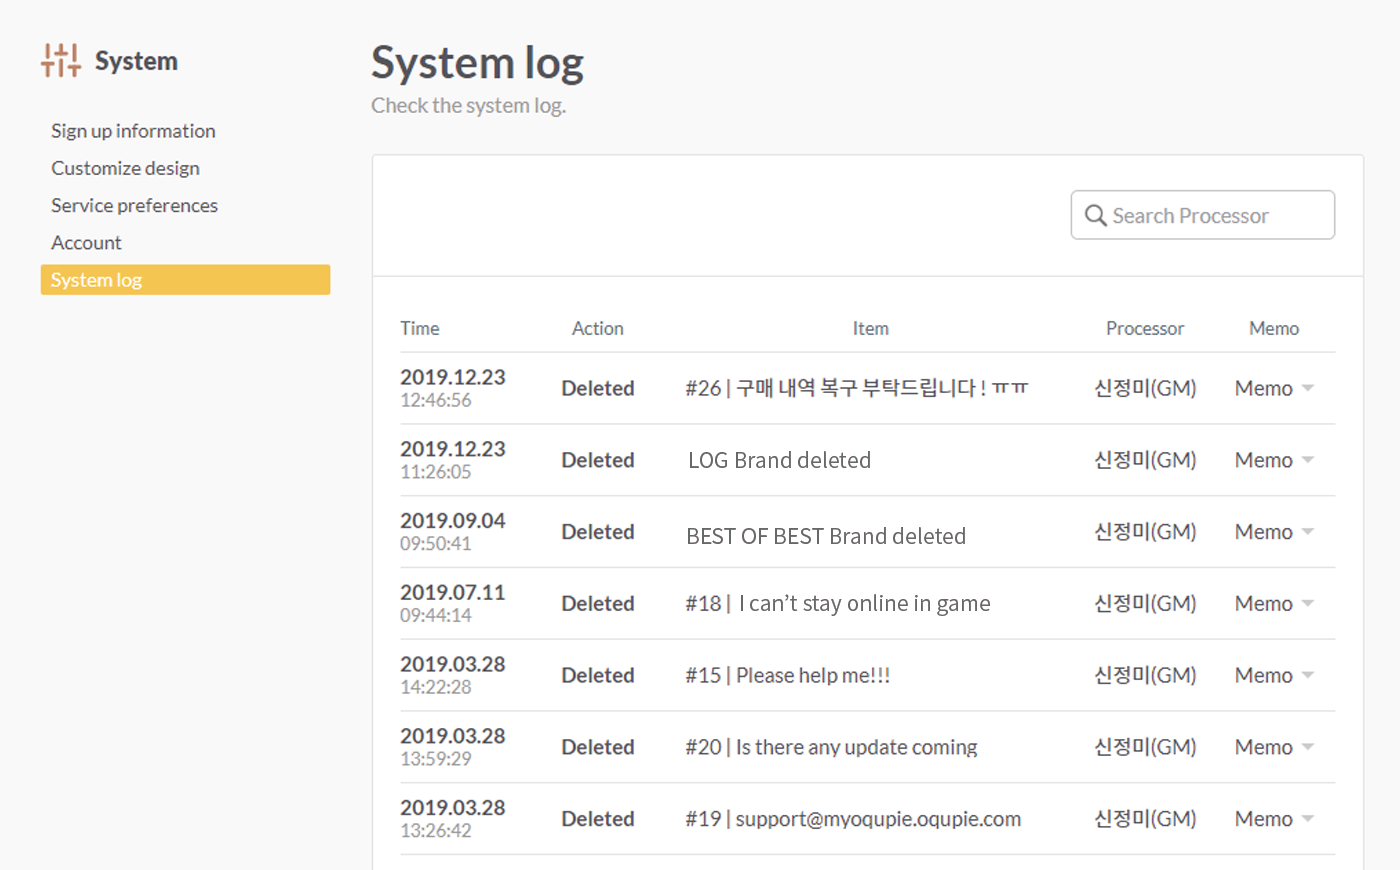
System Log
This is where you manage important system process history such as ticket blocking, deleting and brand deleting etc.
System log action
System log record content